Guides · Your first thirty minutes
How to use a sewing machine for the first time
Thirty minutes, in order, ending with a straight seam on a scrap. Do not start with a project.
By Michael W. · Published
Disclosure: this page contains affiliate links. As an Amazon Associate, StitchStarter earns from qualifying purchases at no extra cost to you. We do not display prices - they change daily, so every button opens the live listing. It never changes which machines we recommend. Full disclosure.
Quick picks
The short answer. Every pick is explained in full below, including who should skip it.
| # | Product | Best for | Score | Price |
|---|---|---|---|---|
| 1 | 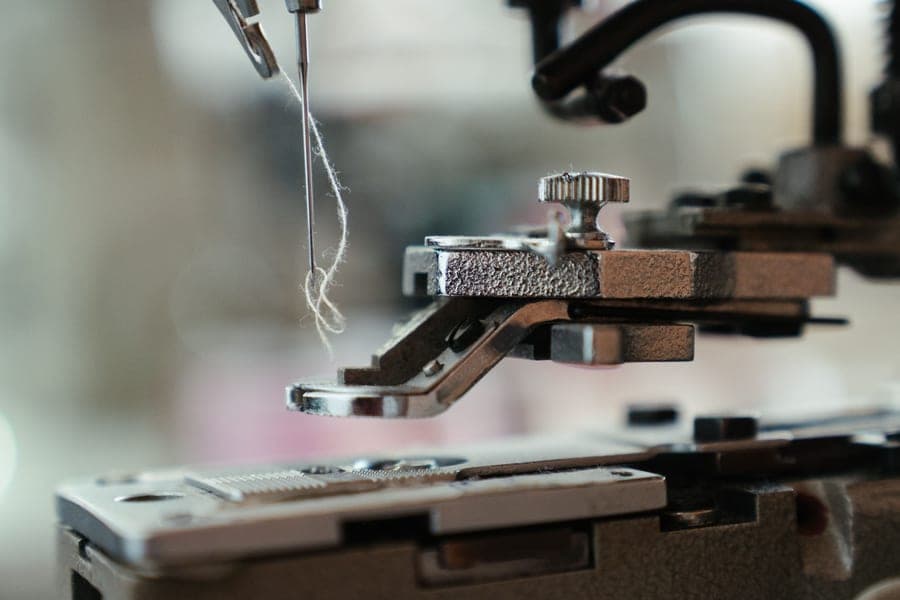 Brother CS7000XSpeed slider, visible bobbin and a numbered threading path. Brother CS7000XSpeed slider, visible bobbin and a numbered threading path. | Easiest first session | 8.2 | |
| 2 |  Brother XM2701Fewer controls to misread, same automatic threader. Brother XM2701Fewer controls to misread, same automatic threader. | Simplest first session | 7.3 | |
| 3 |  Singer Start 1304Preset stitch widths mean almost nothing to set wrong. Singer Start 1304Preset stitch widths mean almost nothing to set wrong. | Fewest decisions | 6.1 |
Scores are our editorial judgment on six axes, explained on the methodology page. We do not run a test lab and never claim to.
Your first session should end with a straight line of stitching on a scrap of cotton, and nothing else. Set the machine up, wind and load a bobbin, thread the top, sew a test seam, and check what the stitch looks like on both sides. That is thirty minutes, and doing it before you touch a real project is the difference between a frustrating first week and a fine one.
The order below matters. Most first-session problems are a step done out of sequence.
Before you switch it on
Put the machine on a table at a height where your forearms are roughly level - a dining table is usually too high and a coffee table too low, and the difference shows up in your shoulders within twenty minutes. Sit square to the needle, not to the middle of the machine.
Get the foot pedal somewhere your foot rests naturally without stretching. Find the light switch and the hand wheel. Then collect three things: two scraps of plain medium-weight cotton about the size of a postcard, ordinary polyester sewing thread, and the machine’s own manual, which you will need for the threading diagram.
The first session, step by step
1. Raise the needle and the presser foot. Turn the hand wheel toward you until the needle is at its highest point, then lift the presser foot lever at the back. Almost every threading problem starts with the needle down.
2. Wind a bobbin. Put thread on the spool pin, follow the bobbin winding path printed on the machine top, seat the bobbin on the winder, push it across to engage, and run the pedal until it fills. It will stop or slow by itself.
3. Load the bobbin. Drop-in bobbins go under a clear cover with the thread running in the direction the diagram shows - usually counter-clockwise. Front loading bobbins go into a case that goes into a compartment. Get the direction right; backwards is the most common cause of thread bunching underneath.
4. Thread the top. Follow the numbered path: spool pin, guide, down and around the tension discs, up, through the take-up lever, down the guides, and through the needle front to back. If your machine has an automatic threader, use it.
5. Bring the bobbin thread up. Hold the top thread, turn the hand wheel one full turn toward you, and a loop of bobbin thread comes up through the needle plate. Pull it through. Lay both threads back under the foot.
6. Set a straight stitch. Stitch selector to straight, length around 2.5, width zero. If the machine has a speed limiter, set it to slow.
7. Sew on a scrap. Two layers of cotton, foot down, needle into the fabric, and press the pedal gently. Do not pull the fabric - guide it and let the feed dogs do the pulling. Aim for a straight line about four inches long.
8. Look at both sides. The stitching should look the same on top and underneath: a line of even stitches with no loops. Loops underneath mean the top thread is not seated in the tension discs - rethread with the presser foot up. Loops on top mean the bobbin. Our tension guide works through every version of this.
9. Practice stopping and starting. Backstitch two or three stitches at each end to lock the seam. Then sew a deliberate corner: stop with the needle down, lift the foot, pivot the fabric, drop the foot, continue.
The four things that go wrong first
Thread bunching underneath. Almost always the top thread, not the bobbin, despite appearances. Rethread the top completely with the presser foot raised so the thread can seat between the tension discs. See thread bunching underneath.
The needle comes unthreaded every time you start. You are starting with the needle at the bottom, or you have not pulled enough thread through. Needle up, four inches of tail, both threads laid back under the foot.
The fabric does not move. The presser foot is up, or the feed dogs are lowered, or the machine is still in bobbin-winding mode. See machine will not feed fabric.
Skipped stitches. Usually the needle - blunt, bent, in backwards, or the wrong type for the fabric. Needles are cheap and a new one is the first thing to try.
Machines with the gentlest first session
If you have not bought yet, these are the three that make this half hour easiest.
Brother CS7000X
Speed slider so the machine crawls while your hands learn, plus a visible drop-in bobbin and a numbered threading path.
Skip it if You want physical dials instead of a menu, or you will be sewing canvas, upholstery or leather regularly.
Brother XM2701
Fewer controls to misread, with the same automatic threader and visible bobbin.
Skip it if You already know you will sew every week, or you want speed control and a quilting table.
Singer Start 1304
Six preset stitches with fixed widths - very little you can set wrong on a first evening.
Skip it if You expect to sew garments regularly, or you want an automatic threader and a one-step buttonhole.
#ad - buy links go to Amazon and earn us a commission at no extra cost to you. Full disclosure.
The picks in full
01 - Easiest first session
Brother CS7000X
Does the fiddly parts for you so you can spend your energy learning to sew.
- 70 built-in stitches, 7 one-step buttonholes
- Automatic needle threader, drop-in top bobbin
- Speed-control slider
- Wide table and 10 presser feet included
- Get it if
- You want threading, buttonholes and stitch settings handled by the machine, and you might try quilting later - the wide table is already in the box.
- Skip it if
- You want physical dials instead of a menu, or you will be sewing canvas, upholstery or leather regularly.
The trade-off
Light and mostly plastic. That makes it easy to carry and quiet on cottons and mid-weights; it is not built for heavy layers every day.
#ad - opens Amazon in a new tab. How we earn
How the Brother CS7000X scores
Our judgment on the six axes described on the methodology page. Not measurements - we do not run a test lab.
- Setup and threading
- 9/10
- Everyday stitch quality
- 8/10
- Thick fabric
- 6/10
- Beginner features
- 9/10
- Durability reputation
- 7/10
- Help for this exact model
- 10/10
Overall 8.2/10
02 - Simplest first session
Brother XM2701
The find-out-if-I-actually-like-this machine.
- 27 stitches, one-step buttonhole
- Automatic needle threader, drop-in bobbin
- 6 presser feet included
- Light enough to carry to a class
- Get it if
- You are not sure sewing will stick and you want a real, capable machine without spending what a better one costs.
- Skip it if
- You already know you will sew every week, or you want speed control and a quilting table.
The trade-off
Lightweight and basic. It does everything a beginner needs - buttonholes, zippers, hems - but you will outgrow it sooner than the CS7000X.
#ad - opens Amazon in a new tab. How we earn
How the Brother XM2701 scores
Our judgment on the six axes described on the methodology page. Not measurements - we do not run a test lab.
- Setup and threading
- 9/10
- Everyday stitch quality
- 7/10
- Thick fabric
- 5/10
- Beginner features
- 7/10
- Durability reputation
- 6/10
- Help for this exact model
- 9/10
Overall 7.3/10
03 - Fewest decisions
Singer Start 1304
Six stitches, preset widths, almost nothing to get wrong.
- 6 built-in stitches with preset width and length
- Four-step buttonhole
- Very light - easy for a child or a small workspace
- Free arm for cuffs and sleeves
- Get it if
- You are buying for a child or a teenager, or you want the smallest possible number of decisions between you and a straight seam.
- Skip it if
- You expect to sew garments regularly, or you want an automatic threader and a one-step buttonhole.
The trade-off
Preset stitches remove the settings that confuse beginners - and also remove the settings you need as soon as you sew anything unusual. This is a machine you will outgrow, on purpose.
#ad - opens Amazon in a new tab. How we earn
How the Singer Start 1304 scores
Our judgment on the six axes described on the methodology page. Not measurements - we do not run a test lab.
- Setup and threading
- 8/10
- Everyday stitch quality
- 6/10
- Thick fabric
- 3/10
- Beginner features
- 5/10
- Durability reputation
- 5/10
- Help for this exact model
- 7/10
Overall 6.1/10
Questions beginners actually ask
What should I do first with a new sewing machine?
Set it up at the right height, wind and load a bobbin, thread the top, and sew a straight line on two scraps of cotton. Then check the stitching looks the same on both sides. That is the whole first session, and it should take about thirty minutes.
Why does my thread bunch up underneath on my first seam?
Nearly always the top thread rather than the bobbin, even though the mess appears underneath. If the presser foot was down when you threaded, the thread never seated between the tension discs. Raise the foot, rethread the top completely, and try again.
Should I practice or start a project first?
Practice on scraps for the first half hour, then make something small and finished - a pillowcase or a tote bag. Endless practice stitching is dispiriting, and starting on fabric you care about means every normal beginner fault lands somewhere expensive.
What stitch length should a beginner use?
Around 2.5, which is the default on most machines and suits medium-weight cotton. Go longer, around 3, for thick fabric, and shorter, around 2, for fine fabric. Zero width keeps the needle in the straight-stitch position.
Do I need to oil a new sewing machine before using it?
No. New machines arrive lubricated. What they do need is the packing material removed and the needle checked for being correctly seated and tightened. Oiling comes later, on the schedule in your manual.
Sources
Specifications are taken from manufacturer listings. We do not run a test lab and never claim to - how each machine is assessed is set out on our methodology page.