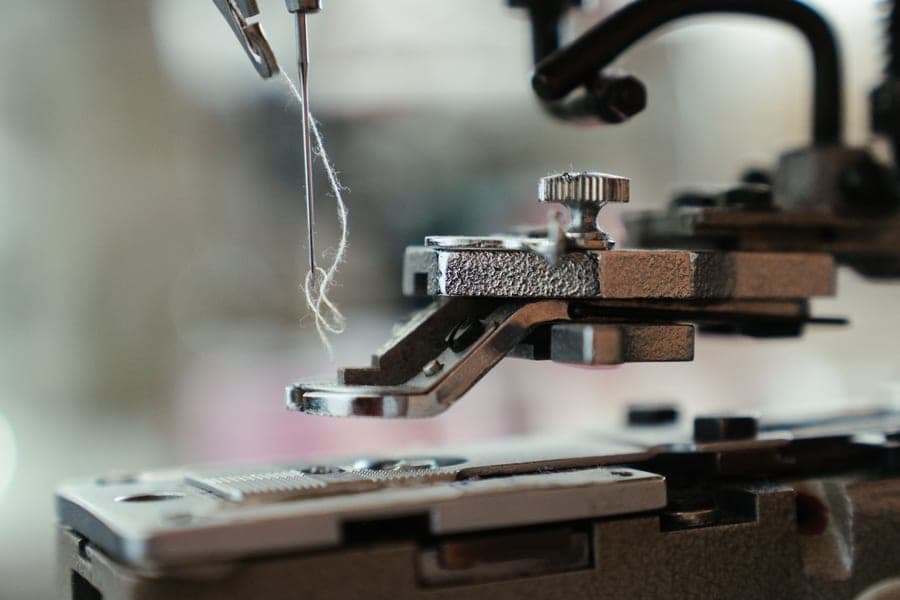
How to thread a sewing machine
The universal threading path, the two steps beginners miss, and how to confirm threading is your problem.
Symptom by symptom, in the words a beginner would actually use.
Something has gone wrong, you are mid-project, and the machine is doing something you cannot explain. Before you look up a symptom, there are two principles that will resolve a large share of beginner problems on their own.
This is the single most useful thing a beginner can learn, and almost nobody is told it.
You sew a seam. The top looks fine. You turn the fabric over and there is a matted nest of loose thread underneath - sometimes enough to jam the machine solid. Every beginner concludes the bobbin has failed, because that is where the mess is.
It is almost always the top thread. The top thread is meant to be held between two tension discs inside the machine; if it is not, it carries no tension at all, and the needle drags far more thread down through the fabric than the stitch needs. All that slack collects underneath. The mess is on the bottom; the cause is on the top.
And the reason the thread misses the discs is usually that the machine was threaded with the presser foot down - because the tension discs only open when the foot is raised. That is the whole chain, and the full page on it walks through the fix.
The second principle. When stitching goes wrong, the instinct is to reach for the tension dial, because it is the only control that obviously relates to stitches. Resist it.
Work in this order, every time:
That sequence takes five minutes and resolves the overwhelming majority of problems that get described as “my machine is broken”.
Sometimes it is, and it is worth knowing the difference so you do not spend an evening on something that needs a workshop.
Stop and get help if the machine grinds or knocks rather than hums; if the hand wheel will not turn by hand after you have cleared any jam; if there is a burning smell or any intermittent electrical behavior; or if the stitching is still wrong after a new needle, a full rethread and a clean. Persistent skipped stitches after all of that can mean the hook timing is out, which is not a home adjustment.
Everything else is threading, the needle, or lint. Regular maintenance prevents most of it, and ten minutes with a brush after each project prevents more than anything else on this site.
One honest caveat. If you are fighting your machine every time you sew denim, no amount of troubleshooting will fix that - a light plastic-bodied machine has limits a needle cannot solve. Our reviews are candid about where each machine stops, and the heavy-fabric roundup covers what to do about it.
The universal threading path, the two steps beginners miss, and how to confirm threading is your problem.
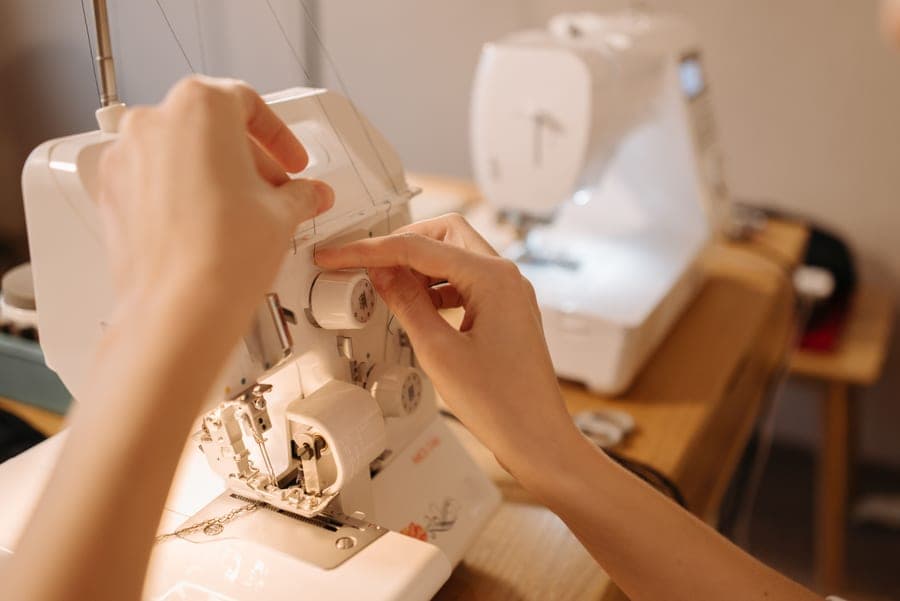
How to read tension from the stitch itself, which way to turn the dial, and what is not a tension problem.
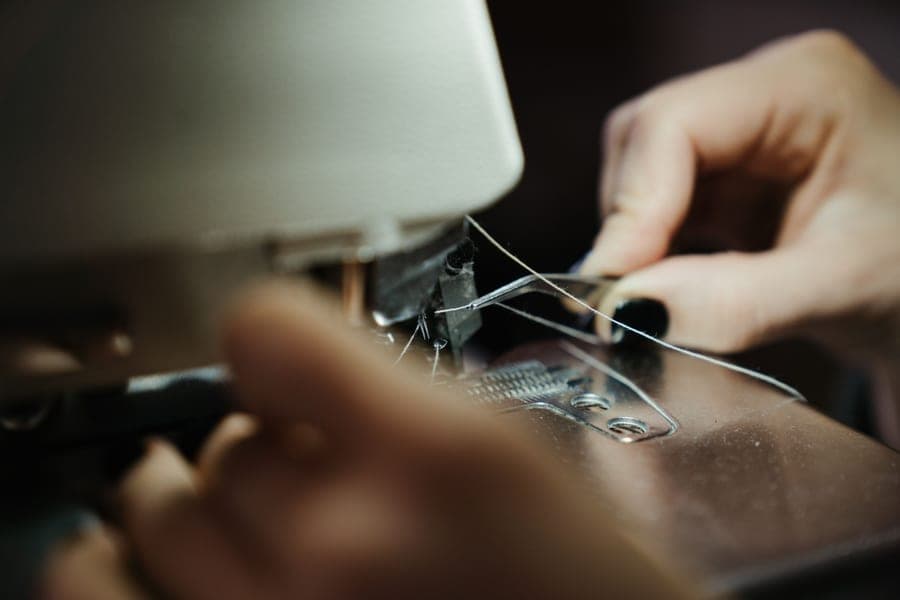
Nesting underneath is a top-thread tension failure, not a bobbin fault. The fix, in order.

What a skipped stitch actually is, why the needle is nearly always the cause, and the fixes in order.

Nothing happens, the needle moves but no stitch forms, or the motor hums and nothing turns - three problems, three lists.
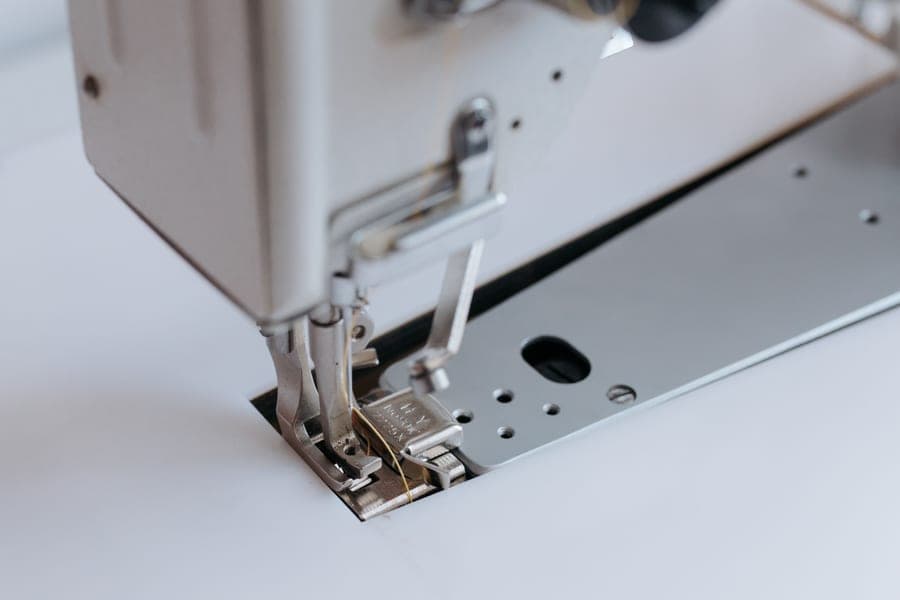
Dropped feed dogs, a raised foot, zero stitch length or fabric being pulled - four causes, four quick fixes.
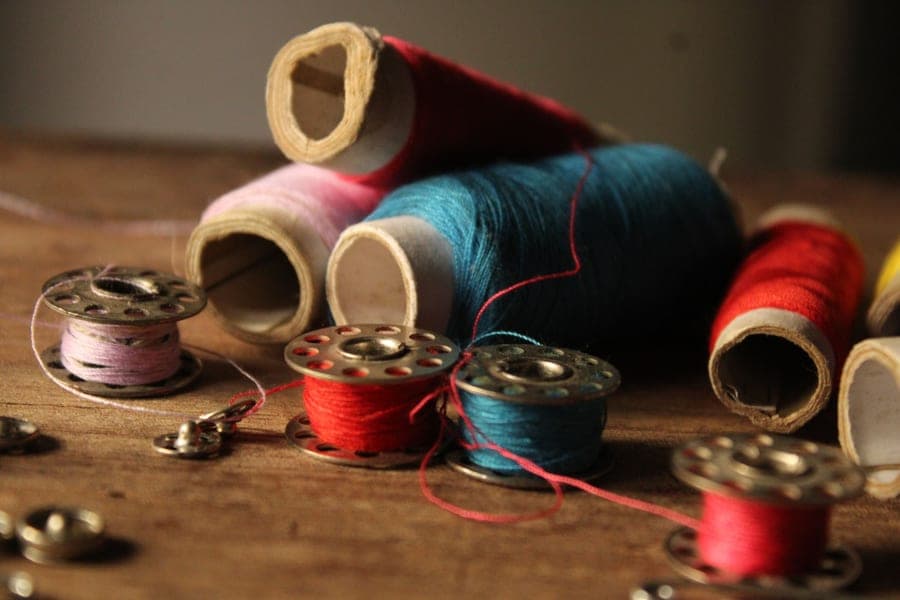
Diagnose from where the thread snaps, then work through top-thread, needle and bobbin causes in order.
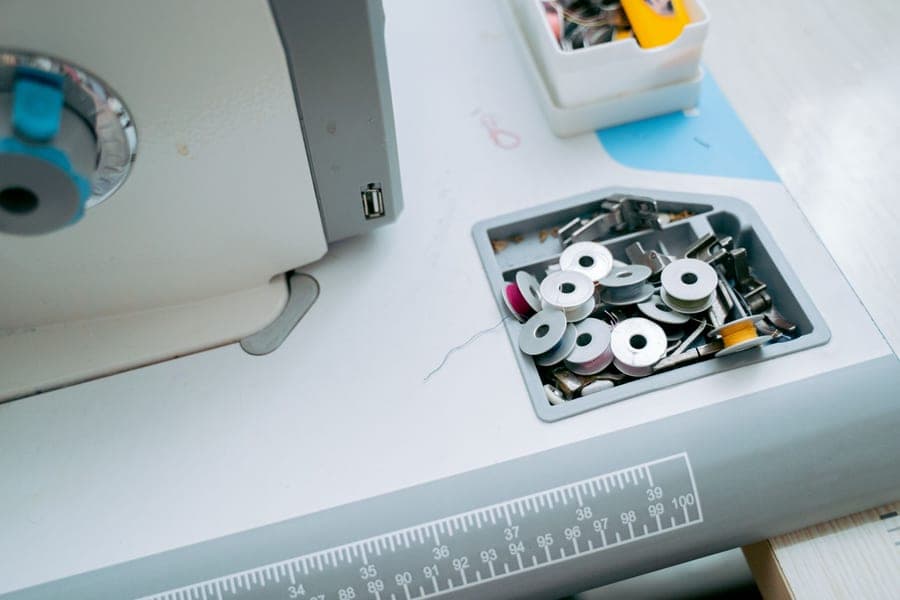
Why the winder does not engage, why the bobbin winds unevenly, and the tension guide everyone misses.